picgo-core + typora + github或oss 图床
picgo-core + typora + github或oss 图床
目录
警告
本文最后更新于 2023-04-20,文中内容可能已过时。
picgo-core + typora + github或oss 图床
【Typora】typora+picgo+阿里云oss搭建图床 - sakuraxx - 博客园 (cnblogs.com)
Typora + PicGo-Core + Github 实现图片上传到Github - jxiaow - 博客园 (cnblogs.com)
安装picgo-core
默认拥有npm,没有先用brew安装,没有brew在镜像快速安装Homebrew教程安装
|
|
安装插件
|
|
创建oss仓库或者github仓库
此过程略去可以参考上面的文章
配置文件
一般路径在~/.picgo/config.json这里,但是windows下如果用typora安装则应该是在typora安装路径下进行查找
|
|
测试
-
终端测试
picgo upload xxx.img -
typora 测试
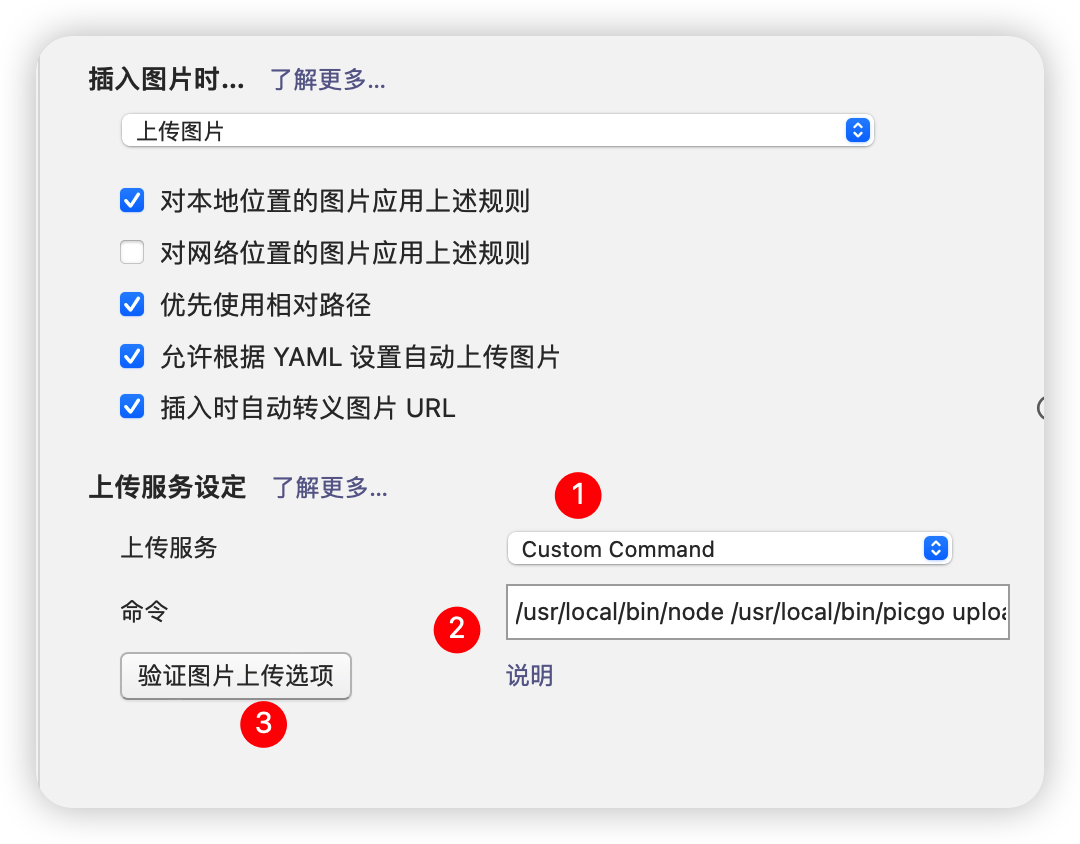
需要注意的地方是
- 这里需要填写picgo的路径,不然可能找不到命令
- 如果出现
env node ......将node的位置写前面,参考typora 配置picgo-core出现env: node: No such file or directory的解决方法 - vpslala.com